How to Set Up Multi-Factor Authentication (MFA) in Gmail


%20in%20Gmail.avif)
Introduction
Imagine your Gmail account as a treasure chest overflowing with essential emails, photos, and documents. Just like you wouldn't leave a real treasure chest unlocked, securing your Gmail account with an extra layer of protection is crucial. Multi-factor authentication (MFA) adds a super-strong lock to your digital treasure chest, making it much harder for anyone to break in, even if they have the key (your password).
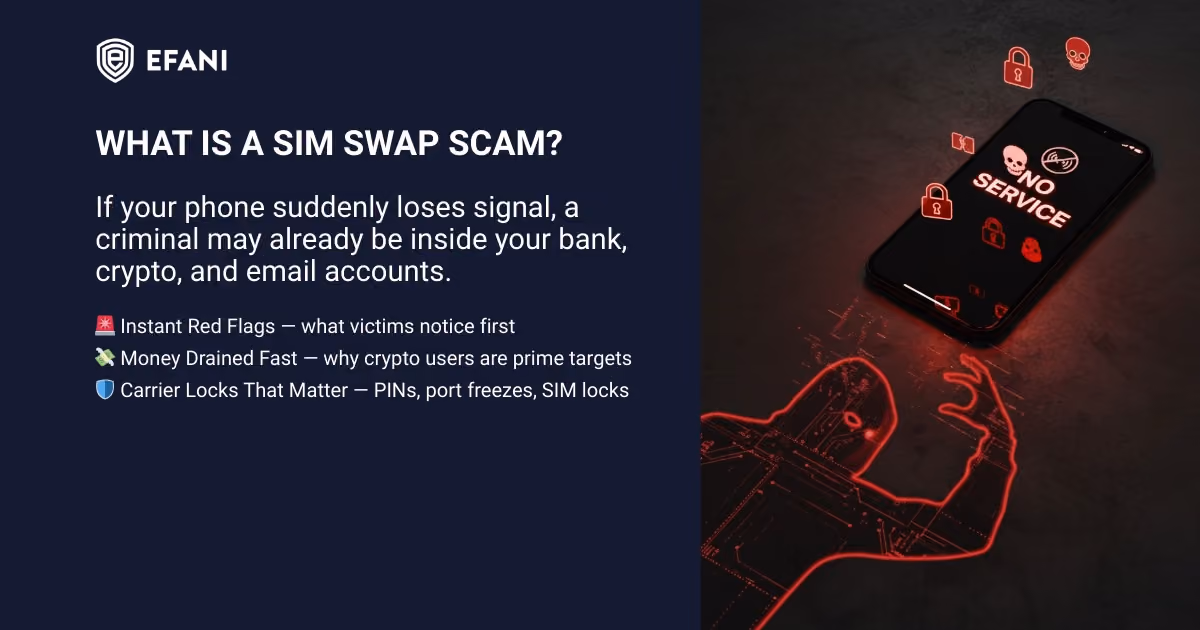
Is your cellphone vulnerable to SIM Swap? Get a FREE scan now!
Please ensure your number is in the correct format.
Valid for US numbers only!
Why Use MFA with Gmail?
Passwords, no matter how strong, can be tricky. They might be forgotten, guessed by bad guys, or even stolen through phishing scams (fake emails that trick you into revealing your password). With MFA, your Gmail will remain locked even if someone can crack your password since they will require additional information to unlock it. Think of it like a two-person security team guarding your digital vault. Without both pieces of information (your password and the extra verification code), no one gets in!
Setting Up MFA in Gmail: A Simple Guide
Now, let's get down to business! Here's a step-by-step guide on how to set up MFA in Gmail, explained clearly and straightforwardly, suitable for everyone:
Finding Your Security Headquarters (Your Settings)
- Log In: First, you'll need to log in to your regular Gmail account, which you use for emails and other Google services.
- Entering the Settings: Look for your initials or profile picture in the top right corner of your Gmail window. Click on them, then find the option "Manage your Google Account" or "Account settings." It will take you to your control panel, where you can manage various Google settings.
- Finding the Security Section: Once you're in your account settings, look for a section called "Security" or "Privacy." It is where you'll find all the options for keeping your Gmail account safe and secure.
Turning on the Extra Lock (MFA) for Gmail
- Two-Step Verification: In the "Security" or "Privacy" section, look for an option called "Two-step verification" or "2-Step Verification." Enabling this setting will add MFA to your Gmail account.
- Choosing Your Extra Security Check (MFA Method): Once you click "Two-step verification," you'll be presented with a few choices for receiving the extra verification code. Here are the two most common options:
- Phone Call or Text: When someone tries to log in to your Gmail with your password from a new device (like a new phone or computer), a code will be sent to your phone (via call or text) that they need to enter to complete the login.
- Authenticator App: This is a unique app you install on your smartphone. It generates unique codes you must enter with your password when logging in from a new device. The MS Authenticator app is a popular and recommended app for Google accounts.
Setting Up Your Backup Options (Just in Case)
Life happens, and sometimes phones get lost or broken. It's wise to add a secondary phone number or email address for verification purposes to avoid getting locked out of your Gmail unexpectedly. This way, you can still receive the verification code even if your primary phone isn't available. Some people might prefer not to use a phone number at all. Google might offer alternative methods like security keys (physical devices you plug into your computer) as backup options. Examine the options and select the one that best matches your needs.
Completing the Setup Process and Testing It Out
- Verification Code: Google will send an authentication code to the email address or cell phone you have selected for verification after you have selected your method and, if necessary, input your backup information. Enter that code on the screen to complete the setup process.
- Confirmation and Review: You should now receive confirmation that MFA is enabled for your Gmail account. Review your security settings and make sure everything is set up correctly. Backup codes, printable codes you can use if you misplace your phone or authenticator app, are also available for download.
Test Drive Your Double-Locked Gmail (Testing MFA)
Now that you've added an extra layer of security to your Gmail account, it's a good idea to test it out and ensure everything is working smoothly. Here's how:
- Log Out Safely: Completely log out of your Gmail account on the device you're currently using.
- Try Logging In Again: Open a new browser window or use a different device (like your phone) and try logging in to your Gmail account using your regular password.
- Enter the Extra Verification Code: After entering your password, you should be prompted for the extra verification code. You can use the authenticator app, phone call, or text message to receive this code.
- Enter the Code and Verify: Retrieve the verification code from your phone or authenticator app and enter it in the designated field on the login screen.
- Success! You should be able to access your Gmail account on the new device and login if you input the code correctly. It validates that MFA is operating as planned.
Conclusion
Setting up MFA in Gmail might seem like many steps, but it's a worthwhile investment in security. With MFA enabled, even if someone gets your password, they won't be able to access your Gmail account without the extra verification code. Remember, like a house with a strong lock and alarm system, MFA helps deter unwanted visitors and keeps your email safe!
Here are some additional tips for maintaining strong Gmail security:
- Choose Strong and Unique Passwords: Even with MFA, using strong and unique passwords for your Gmail account (and all your online accounts!) is essential. A combination of capital and lowercase symbols, characters, and numbers should be included in your passwords. Additionally, it would help if you refrained from using the same passcode across many accounts.
- Beware of Phishing Scams: Don't click on suspicious links or attachments in emails, even if they seem to come from someone you know. These could be tricks to steal your password or personal information. Avoid responding to emails that ask you to confirm your account information or that seem urgent. Google will never send you a password request via email.
- Regular Security Checkups: It's a good idea to review your Gmail security settings routinely and verify that your verification methods—particularly phone numbers—are updated.
SIM Swap Protection
Get our SAFE plan for guaranteed SIM swap protection.